

1. Create your team workspace
Creating a workspace sets up your shared Team Brain and your private My Brain in one step.1
Sign up
Head to app.supermemory.ai and create an account.
2
Choose Team
On the About step, switch from Personal to Team.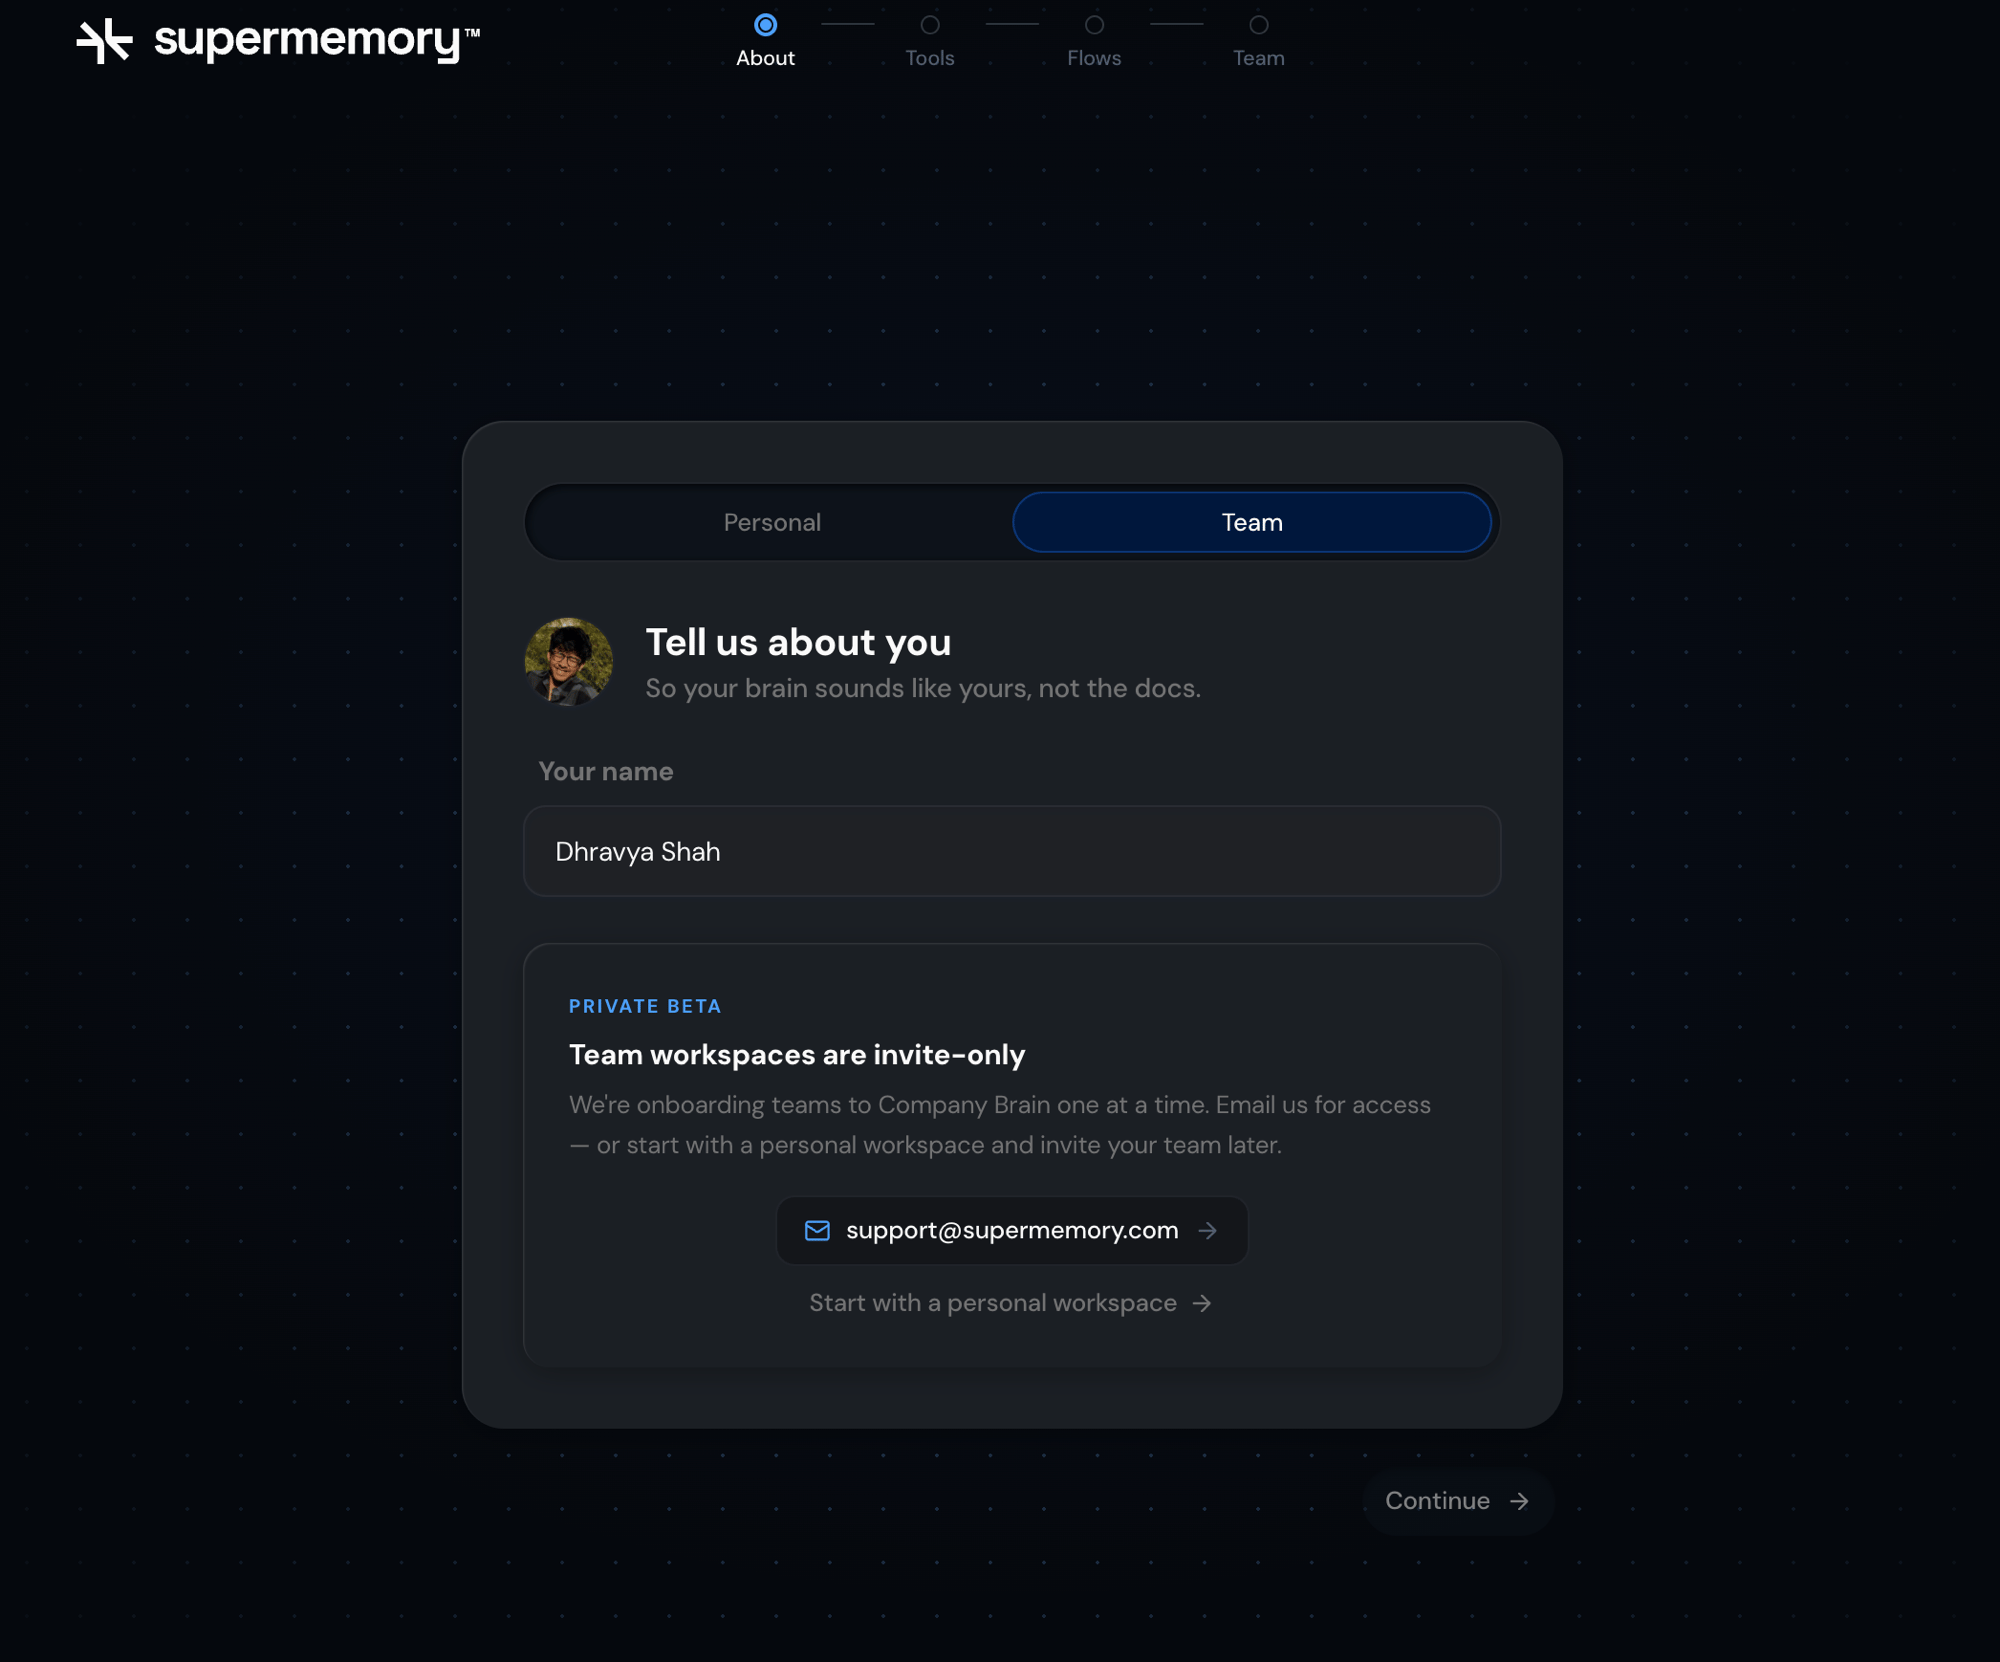
Team workspaces are invite-only during the private beta. Not invited yet? Email support@supermemory.com, or start Personal and invite your team once you’re in.
3
Add your company domain and confirm
Enter your domain (for example 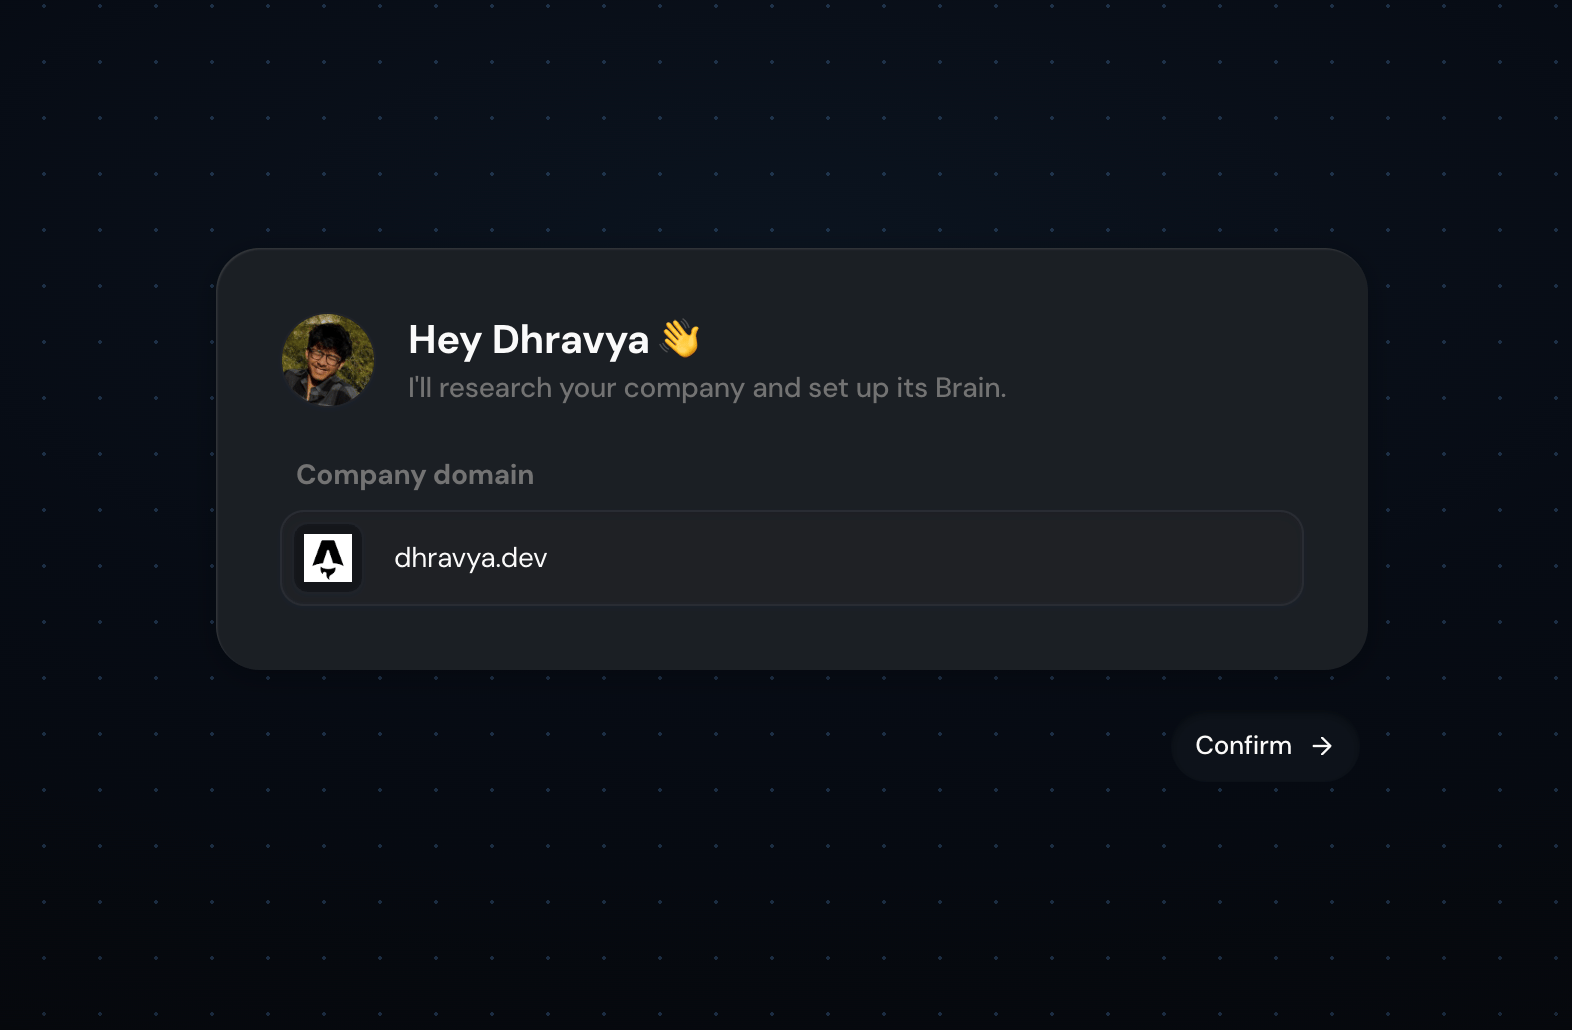
acme.com) and confirm. Supermemory researches the company from there and seeds a starting profile, before any source finishes syncing.4
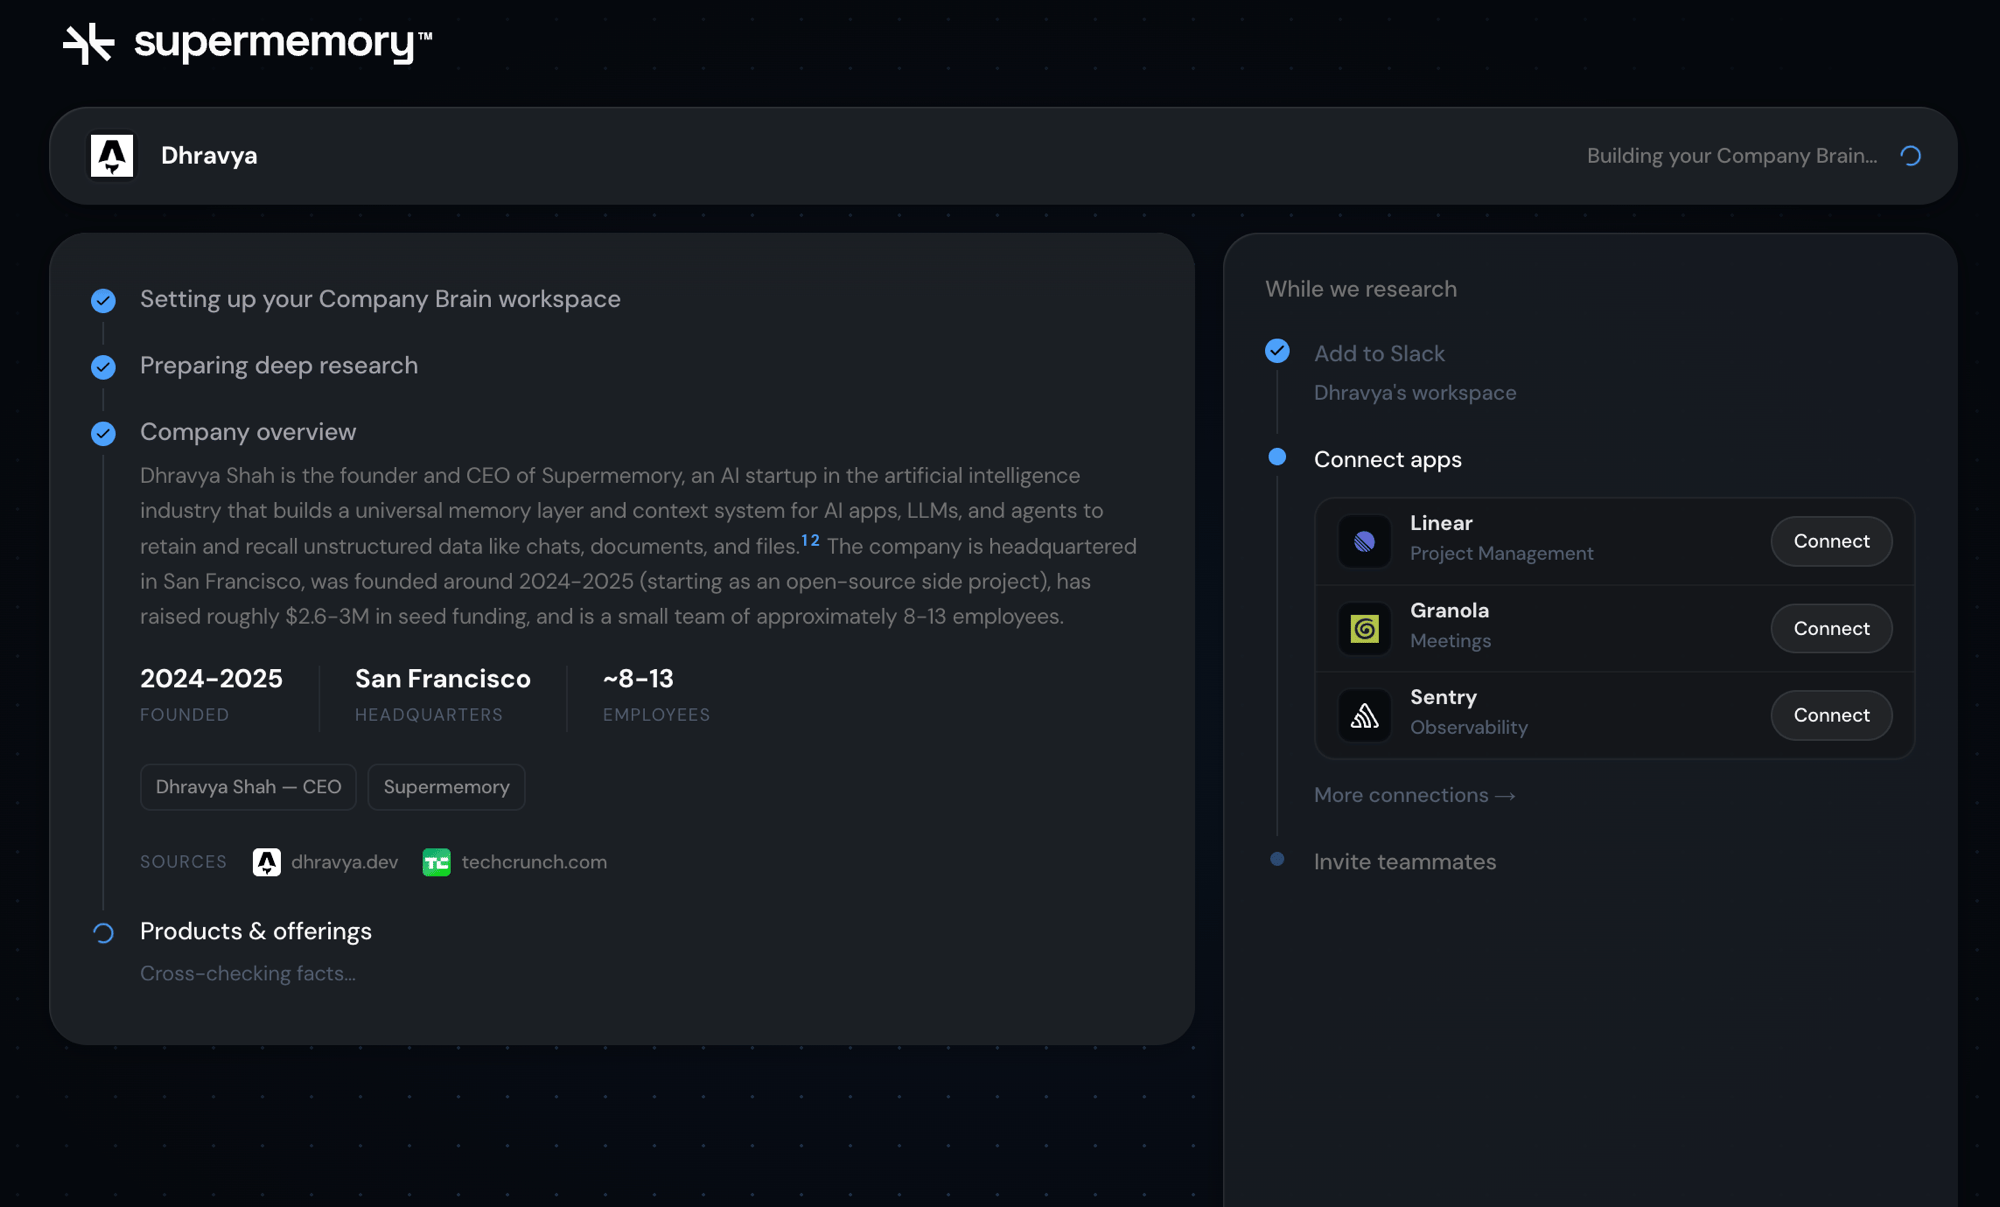
Add to Slack, connect apps, and invite your team
All three run in parallel with research, and none of them block it:
- Add to Slack — kicks off the install flow below.
- Connect apps — Linear, Granola, Sentry, and more.
-
Invite teammates — now, not later. No per-seat pricing, so invite everyone in your Slack.
5
You're ready
Supermemory’s already learned a real amount about your company by the time research finishes. Watch Slack for a DM from it walking you through what it can do.
Try it: ask
What does {your company} do? — you should get a real answer from the seeded profile.2. Install into Slack (admin)
Don't have a Slack workspace yet?
Don't have a Slack workspace yet?
Go to app.slack.com to create one first — Company Brain installs into an existing workspace, it doesn’t create one for you.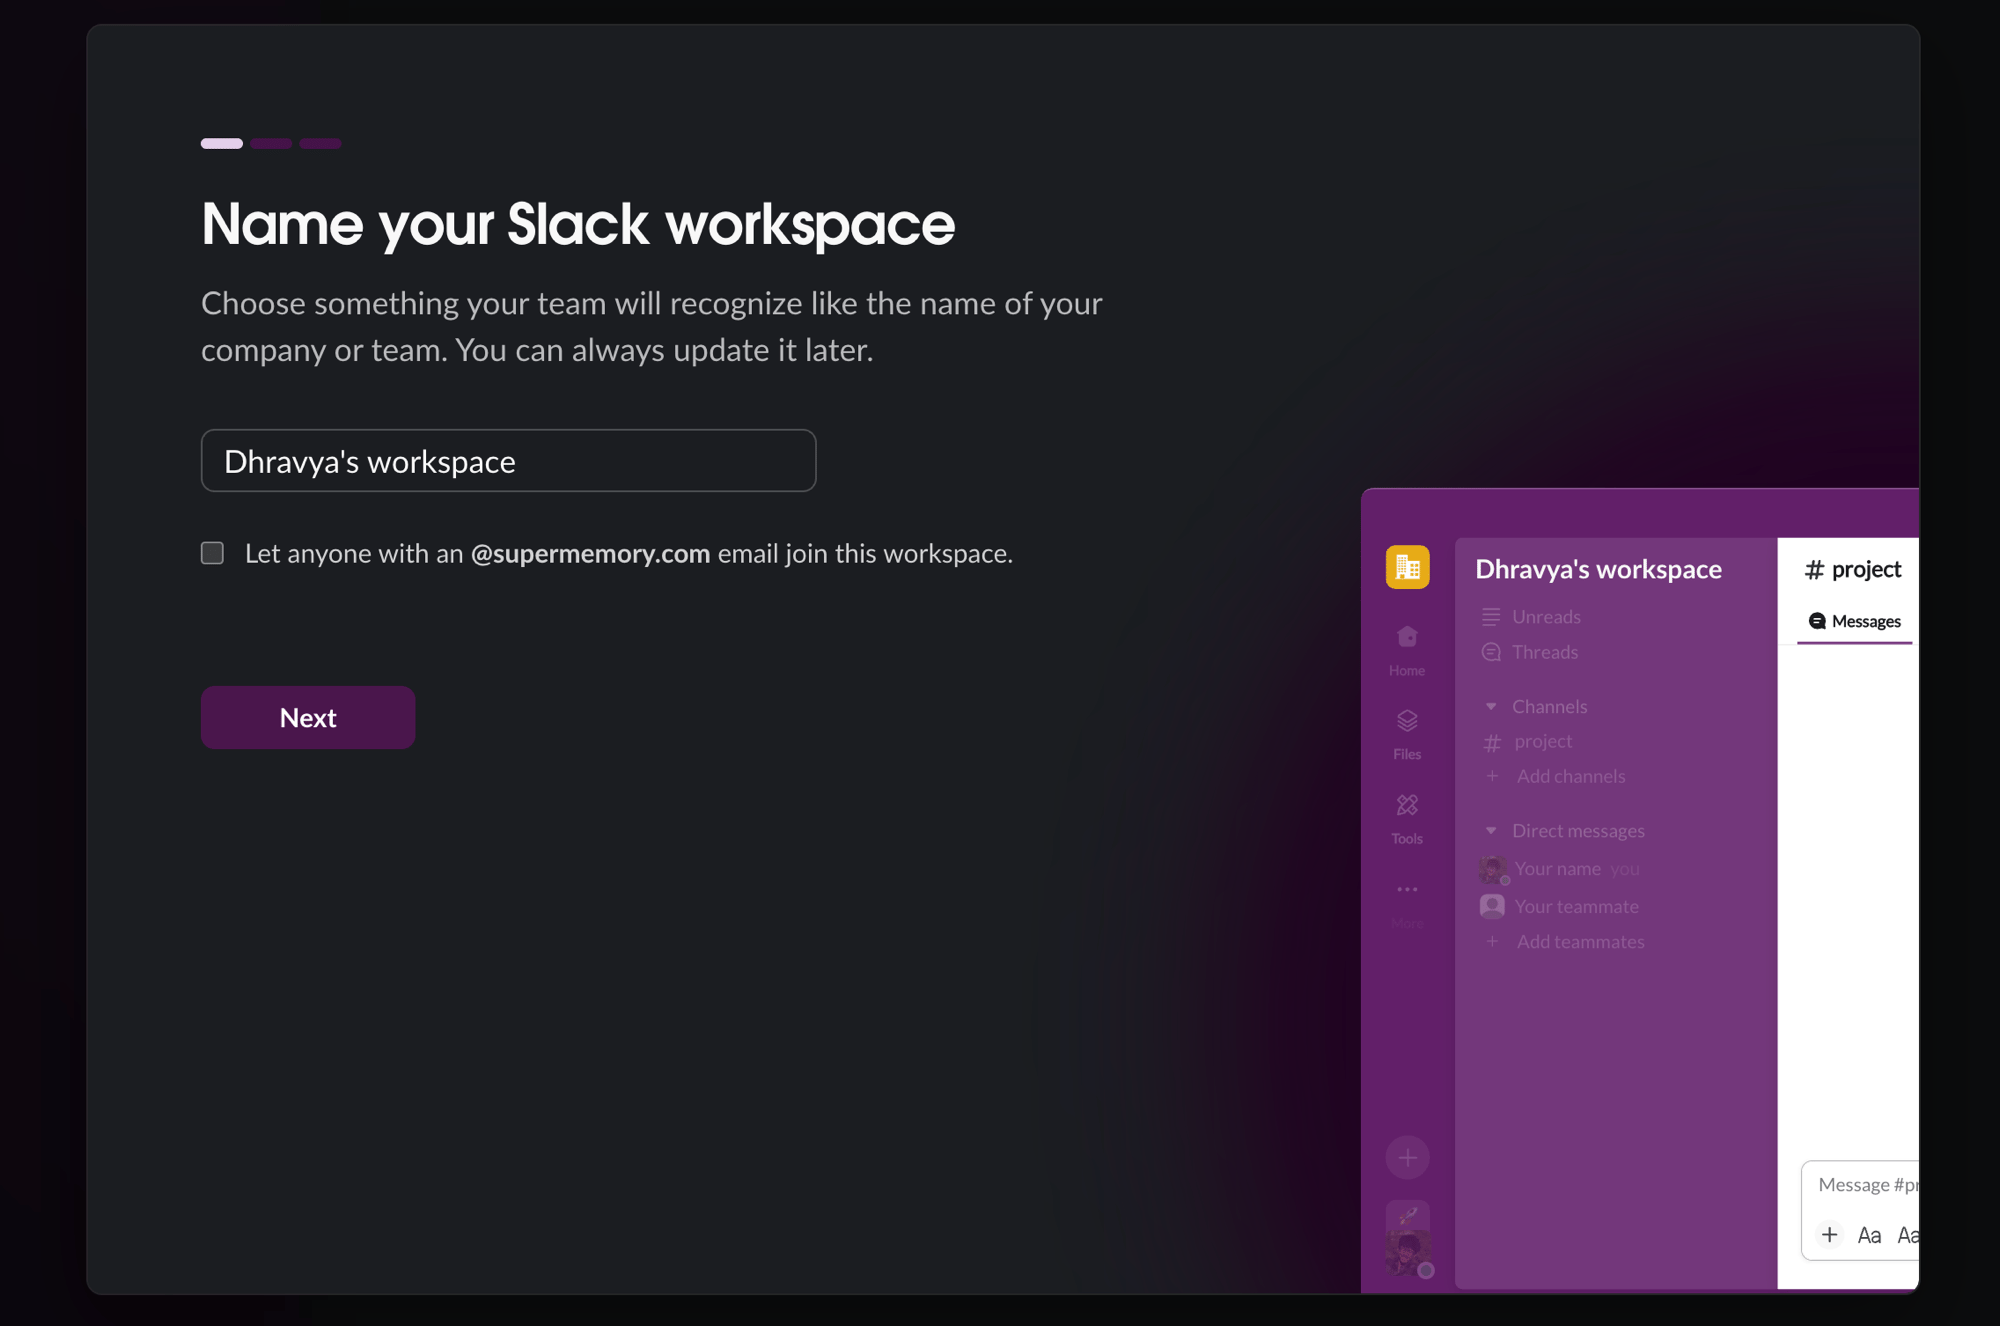
1
Confirm company and domain
Click Install to Slack. Not an admin? This triggers Slack’s own request-to-install flow instead.
2
Hand off to Slack
The web app hands off immediately — “we’ve DM’d you in Slack.”
3
Home channel
The agent creates
#company-brain, posts an intro there, and announces itself once in #general.4
Approve channels to read
You approve each channel with a tap — it never joins one silently.
5
Add your team
Invite people with a picker, a workspace-wide toggle, or email.
Greeting new teammates
What member join looks like from a new hire’s side.
The permissions graph
What each person can see once they’re in.