
Let’s get practical here: have you ever dropped a PDF into Cursor, then pasted the same content into Claude just to “remind it”? Or tried to follow up on a thread, only to realize the memory lives in a different tool? It’s annoying. It breaks your flow. And worse, it ruins your results. That’s beca
Let’s get practical here: have you ever dropped a PDF into Cursor, then pasted the same content into Claude just to “remind it”? Or tried to follow up on a thread, only to realize the memory lives in a different tool?
It’s annoying. It breaks your flow. And worse, it ruins your results. That’s because your memory is fragmented across tools. You don’t have one shared context; you have partial ones.
But what if your AI tools could share memory? Not just reuse the same prompt, but actually pull from the same brain?
Let’s skip the theory for a second and understand what context sharing actually looks like. You drop a file into Cursor, then ask Claude a follow-up question about it. Claude answers accurately even though it never saw the file. That’s shared memory, and that’s Supermemory.
You don't need to manually copy and paste. No prompts that start with “Recall that...”, all you need is a seamless handoff between your tools, as if they were on the same team. In the next section, we will take a look at how you can make your MCP clients share context using Supermemory.
How to Make Your MCP Clients Share Context Using Supermemory
Most developers and engineers believe this will be challenging, as they will likely need to modify the client source code, set up custom servers, or maintain API bridges between tools. However, with Supermemory, it’s literally plug-and-play.
There are two methods to accomplish this: one-click install or manual install. We will examine both methods.
One-Click Install
If you’re using Cursor, Claude Desktop, VSCode, or other AI clients, Supermemory offers a one-click install that connects your tool directly to your shared memory. You’ll be up and running in less than a minute.
This is the easiest method, simply because you will be using the Supermemory app and will take advantage of one-click installs.
Step 1
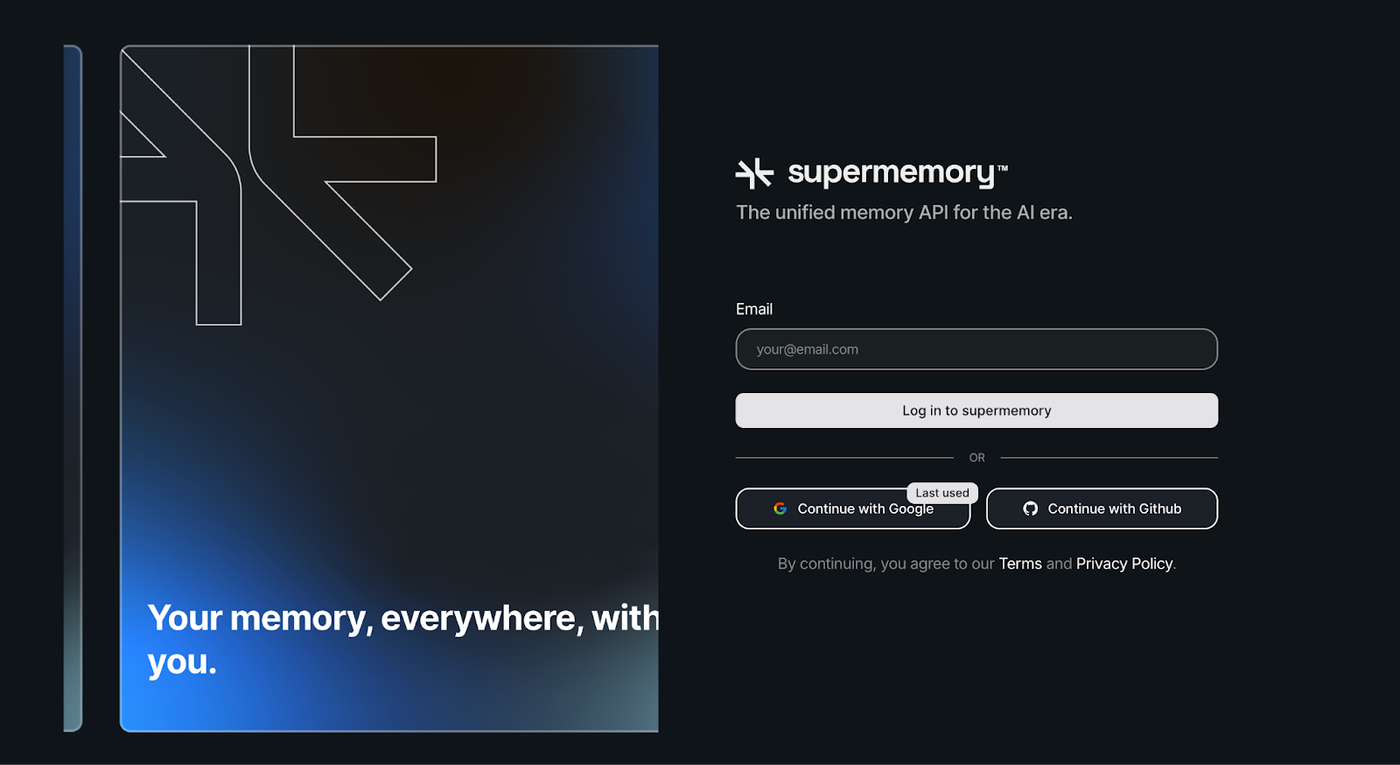
Navigate to the login URL (https://app.supermemory.ai/login) and sign in with your information. You can use either your email or the Google/GitHub authentication.
Step 2
You will be redirected to the app dashboard, where you can now proceed to connect Supermemory to your preferred AI tool using the Model Context Protocol (MCP). This enables your AI to interact with your memory and perform actions such as adding, searching, and utilizing it in real-time.
In the setup dashboard, you’ll see options like: Cursor, Claude Desktop, VSCode, Gemini CLI, Claude Code, Cline, or even custom MCP URLs.
Pick the client you want to connect with; let’s say Cursor.

Step 3
This is a crucial step where you must install the Supermemory MCP. You must click the “Add to Cursor” button, which automatically installs and configures Supermemory in Cursor.

After clicking on the button, you will be prompted to open up Cursor on your local machine to complete the installation.
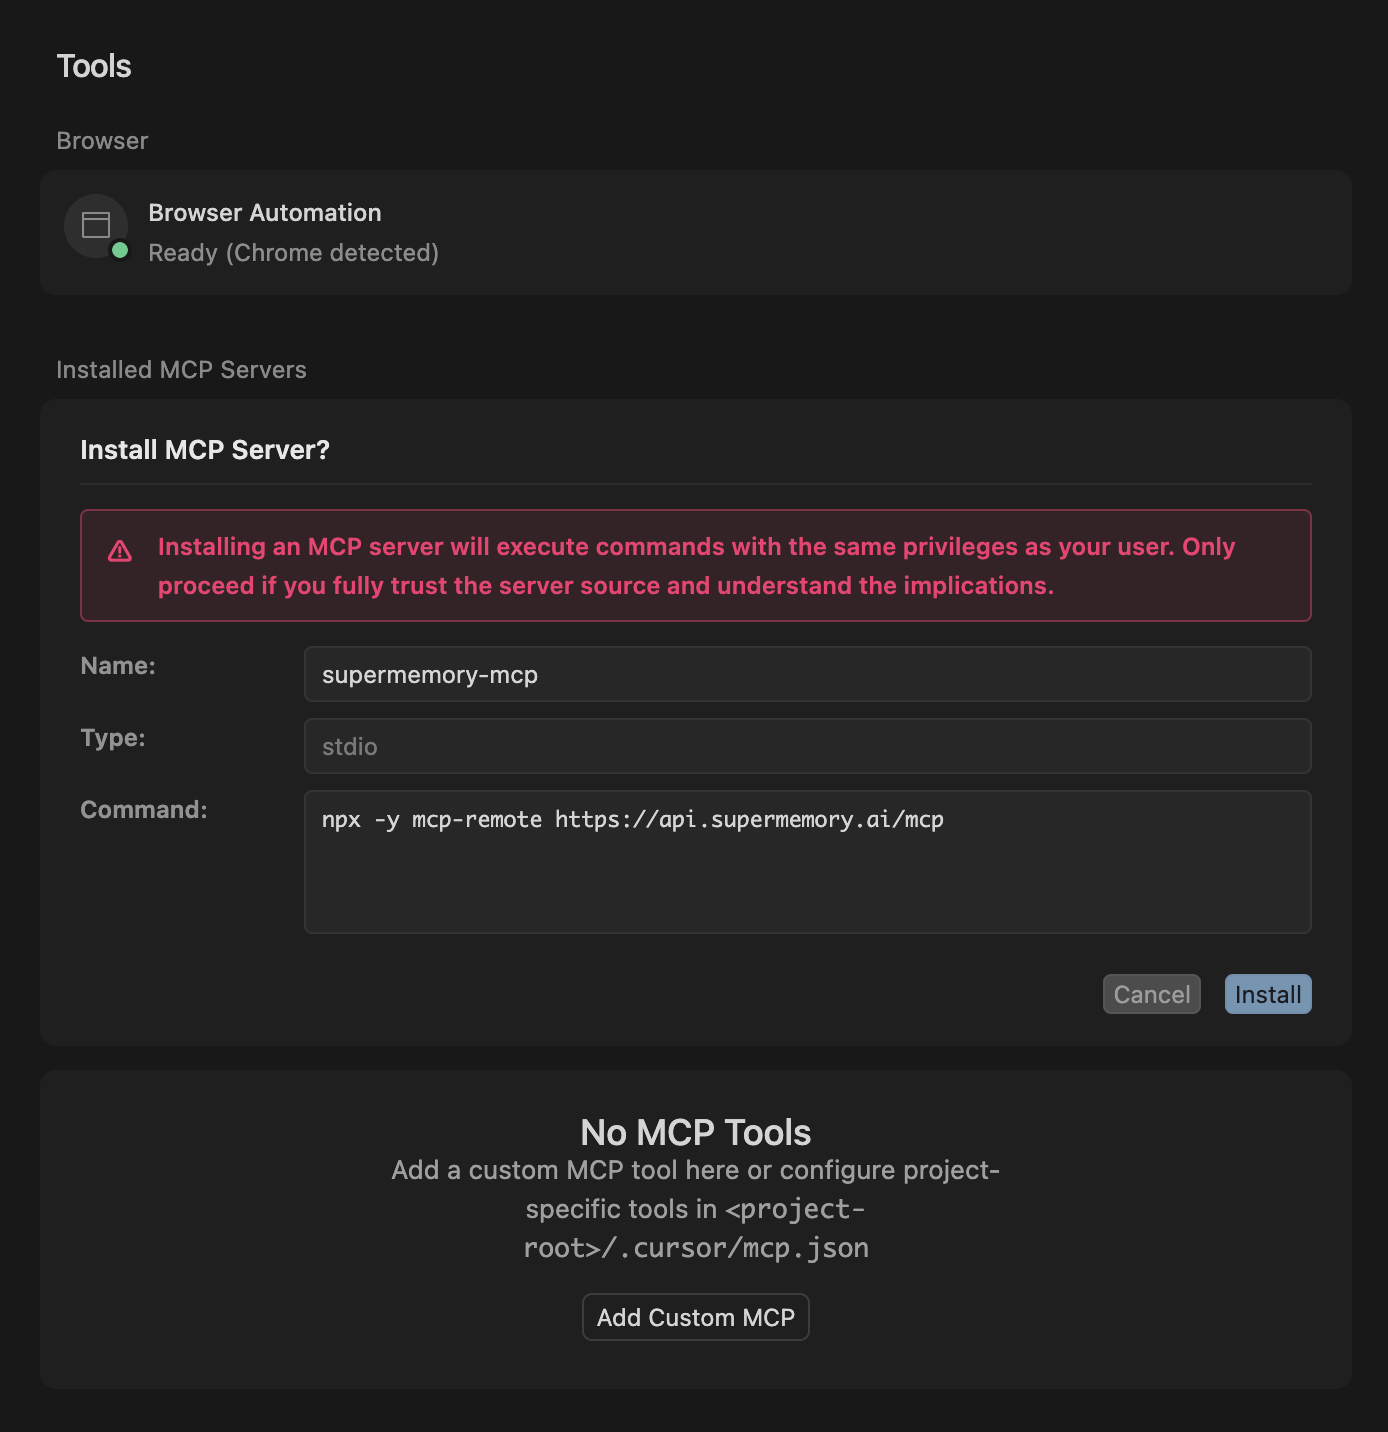
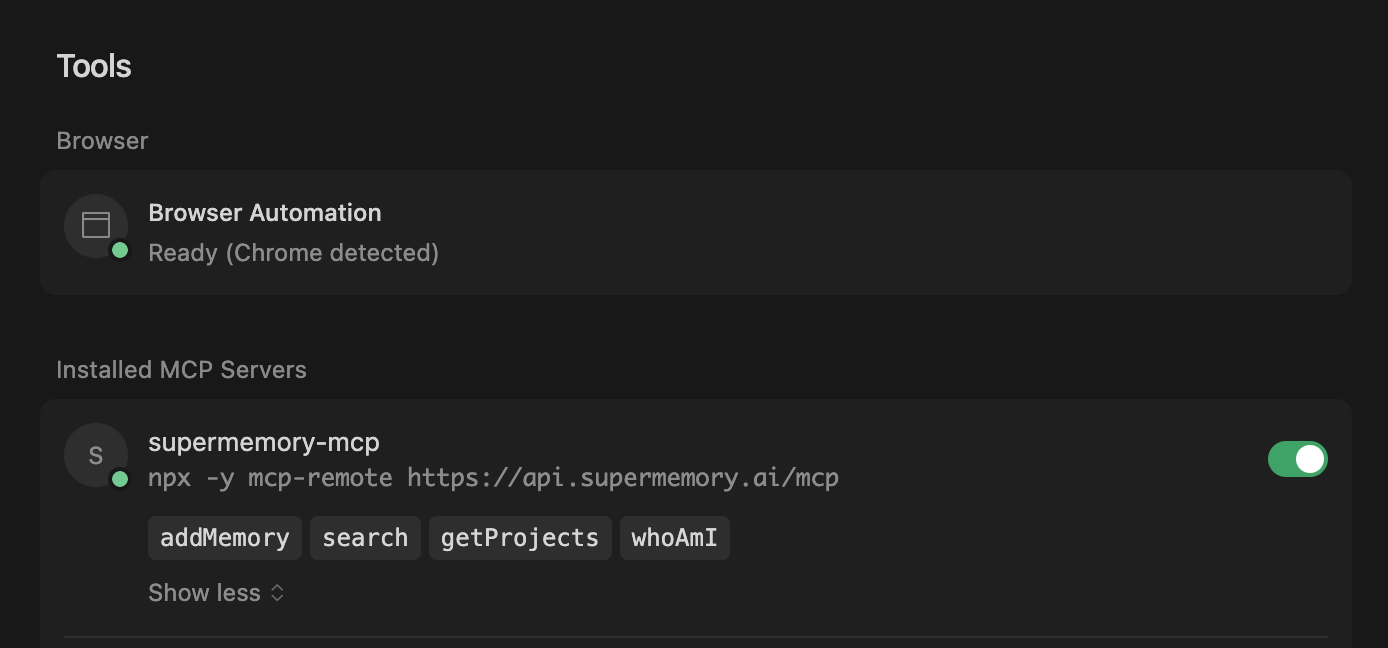
Click on the install button. After a few minutes, you should have supermemory-mcp installed on your Cursor. The supermemory-mcp comes with four tools, which include: addMemory, search, getProjects, and whoAmI. You can enable and disable any of the tools by clicking on them.
MCP server installation should start in Cursor. If Cursor didn't open automatically, you can manually add the MCP server with the configuration below:
MCP Server Configuration:
{
"supermemory-mcp": {
"command": "npx -y mcp-remote https://api.supermemory.ai/mcp"
}
}
Manual Installation
If you’re not using the one-click install, don’t worry. The manual setup only takes a minute. With a single command, you can connect Supermemory to your favorite AI tools via the Model Context Protocol (MCP).
Step 1: Pick Your AI Client
Supermemory MCP works out of the box with popular clients like: Cursor, Claude Desktop, VS Code, Gemini CLI, Cline, and Claude Code. You can also use a custom MCP URL if you're running a self-hosted setup.

Step 2: Install the MCP Adapter
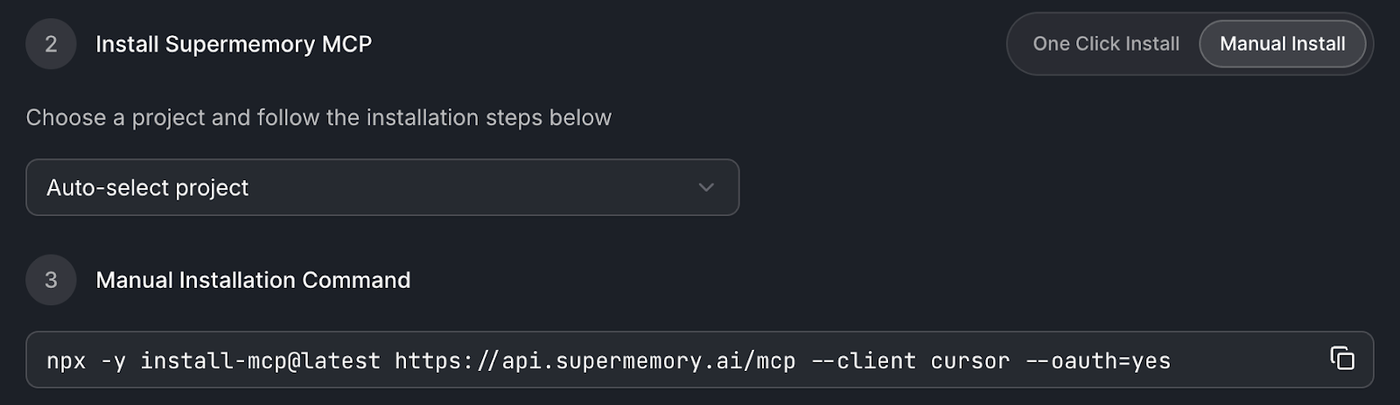
Run the following command in your terminal; you only need to run it once per project.
npx -y install-mcp@latest https://api.supermemory.ai/mcp --client cursor --oauth=yes
Let’s break that down:
Flag
What It Does
install-mcp@latest
Installs the MCP adapter
https://api.supermemory.ai/mcp
The URL of the Supermemory MCP endpoint
--client cursor
Tells Supermemory which AI client you're using (e.g., cursor, vscode, claude-desktop, etc.)
--oauth=yes
Enables OAuth flow for authentication
What Happens After Installation?
Once installed:
- Your AI tool can automatically save context as memories.
- It can pull previous memory snippets when responding to prompts.
- You’ll get contextual information from your knowledge base.
- It works seamlessly in the background.
Relationship Inference with Graph Memory
Supermemory doesn’t just store chunks of text. It understands the relationships between people, places, actions, and ideas within your conversations.
Behind the scenes, it builds a knowledge graph from your messages and notes. That means:
- You can ask, “Who did I talk to about onboarding workflows last week?”
- Or filter for “All conversations where Mayowa mentioned compliance and Slack”
- Or see a graph of what your Claude chats, Notion pages, and Gmail threads have in common
This works across all your apps and not just MCPs. Every chat, every tool is logged automatically. No need to remember what you said or where you said it. Just search, and it’s there.
And if you want to forget your memory? You control the retention window, deletion rules, and even encryption scope.Supermemory handles all of this with a unified memory layer.
Conclusion
Most people using Claude, Cursor, or any other modern client are flying half-blind. Every new thread forgets the last. Every tool has its own silo.
But it doesn’t have to be that way. With Supermemory, your MCP clients can share memories, recall important moments, and respond with actual context, not just the last five messages.
Setting it up takes just a few clicks. Works across apps. And gives you back hours of searching, repeating, and re-explaining.
Try it now atapp.supermemory.ai. Or dive deeper into what makes Supermemory tick in thedocs, demo video, andblog.


